
Hey kiddos! How are you? I hope you are having a wonderful holiday season, whether you are in the midst of celebrating Hanukkah or prepping for your Christmas or Kwanza celebrations!!
It is four days until Christmas and I am not prepared at all.
My room is not clean.
My family’s gifts are not wrapped.
My outfit for church on Christmas Eve is not picked out.
My contribution to the family holiday dinners is not planned out.
Despite not having these tasks finished, I have accomplished some important things these first three days of my holiday break.
I have lounged on my couch for approximately 6 hours each day.
I have been able to wear my sweatpants and t-shirts whilst lounging on said couch.
I have watched approximately 8-10 made-for-TV holiday movies (so much holiday drama and wonderfulness!).
I have consumed this magnificent breakfast twice in two days…

*burp*
Despite my absolute laziness this weekend, I actually started on my family’s Christmas dessert!
I decided to challenge myself this year and make a Buche de Noel, AKA a Yule Log! It is the first time that I will be attempting this creation, so I will be documenting my journey (success or failure) for all to see. I have never been so nervous and excited at the same time.
I started on the accessory component of the Buche de Noel yesterday… the meringue mushrooms. These little cookies are the accompaniment to the actual cake, but they also serve as a dessert for your guests who don’t like cake or want a mostly chocolate-free dessert.
Meringues begin with three egg whites in the bowl of a stand mixer and beat them on medium speed. You can use a hand mixer, but your arm will get tired!

I didn’t take the photos of the sugar additions (my bad!), but it is pretty simple. When the egg whites reach the soft peaks stage (when the egg whites make a small peak that flops over onto itself), slowly begin adding in 6 tablespoons of sugar. Kick the mixer onto high speed and beat until the mixture becomes stiff but remains glossy.
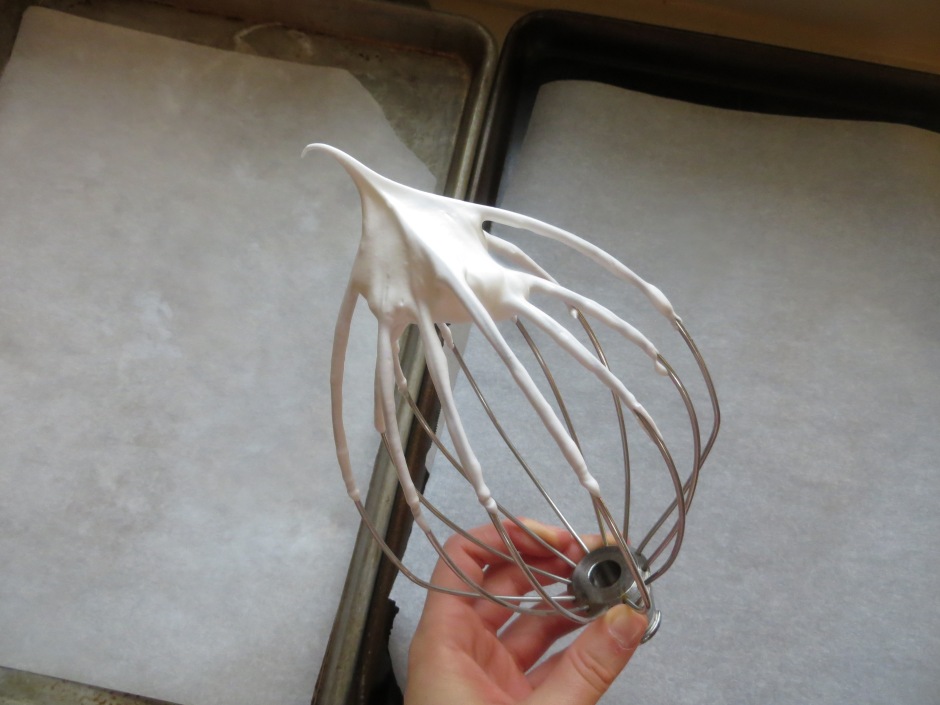
Like this!
Then add in an additional 6 tablespoons of sugar and carefully fold it into the egg whites.
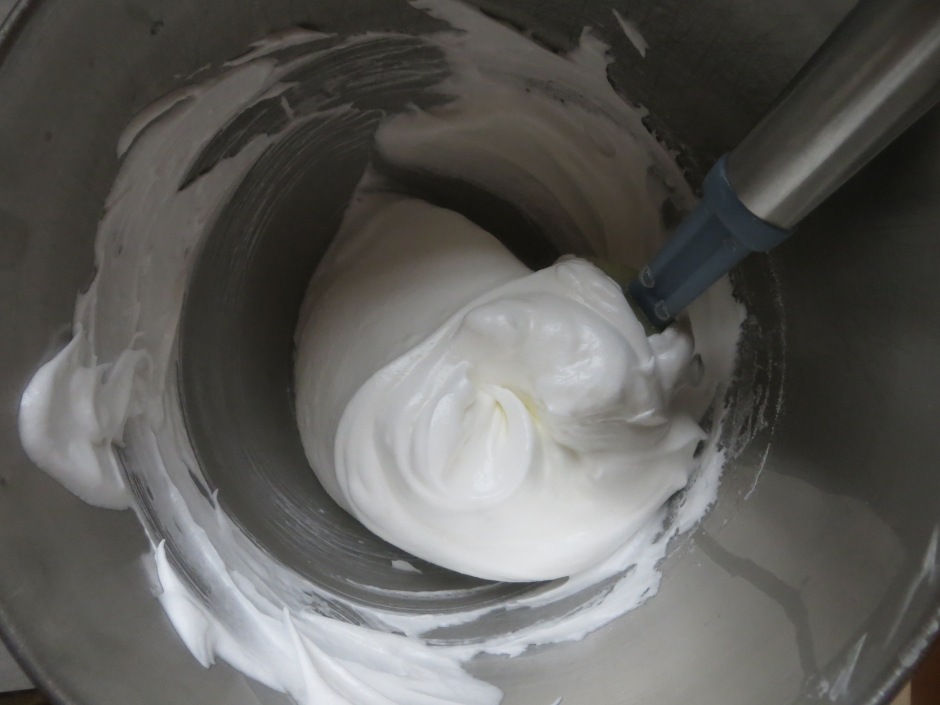
Look how perfect.
Now it’s time to pipe the mushrooms! You need 2 parchment-lined cookie sheets, one for the mushroom caps and one for the stems.
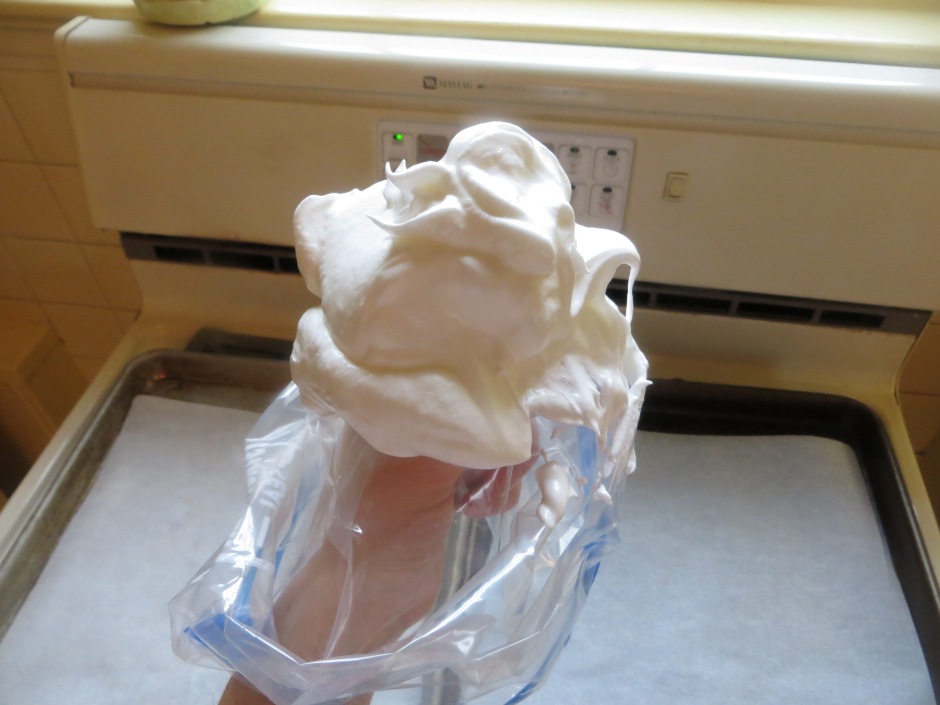
Pile half the meringue into a piping bag with a #6 round tip… or in my case, a zip tip baggie with a #6 round tip. No mess to clean up!
The mushroom caps are simple to make. Pipe the meringue onto the cookie sheet until a circle 1½”-2” in diameter is formed. When you made your circle, pull the piping bag to the side to avoid making a little point on top of the mushroom caps. If you make a little point, just dip your finger in some water and pat it down. No harm, no foul.
The stems are a little more complicated.
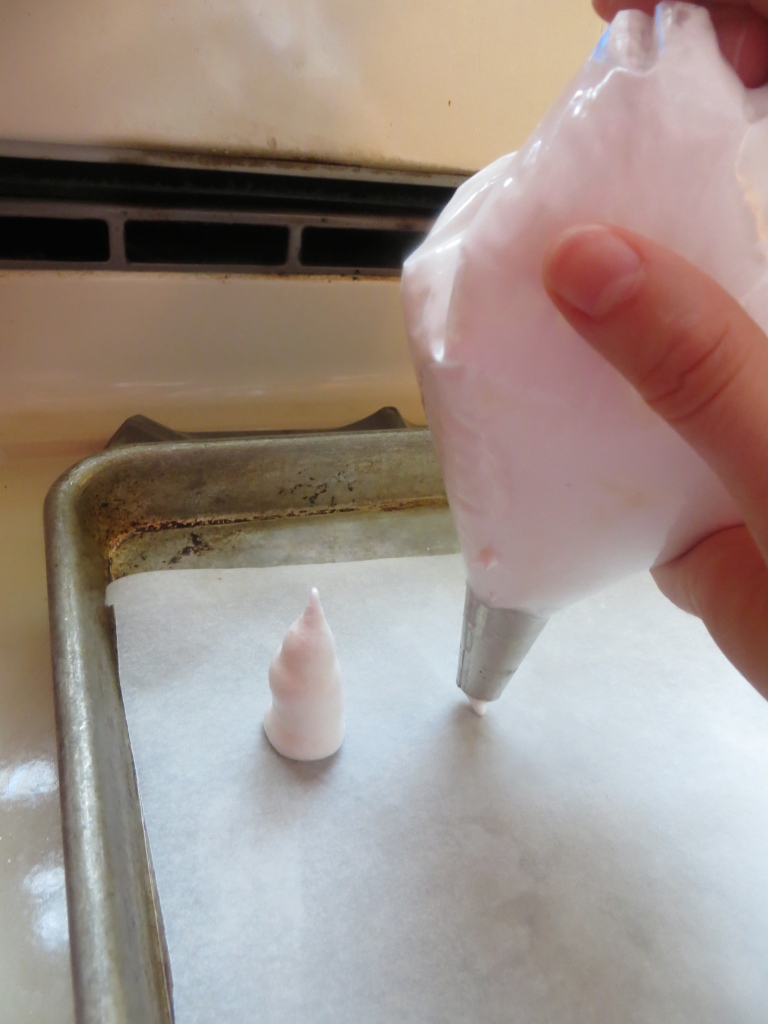
Pipe a little meringue on the parchment.
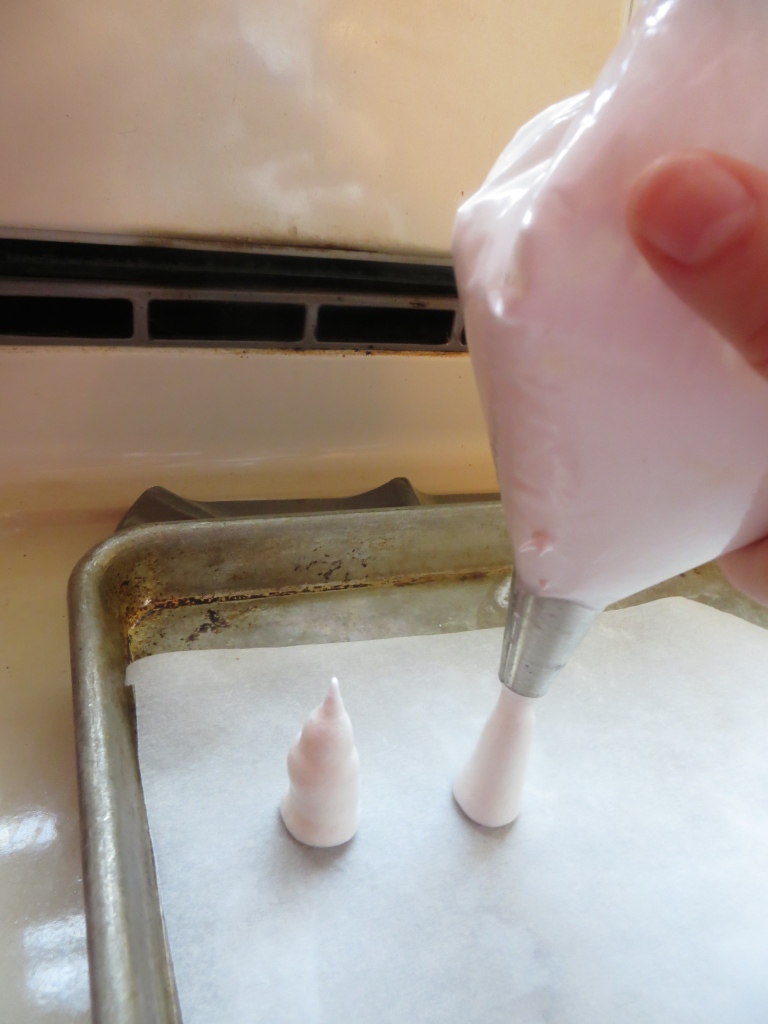
Then with steady pressure on the piping bag, pull upwards to make the stem (about 2” high!).
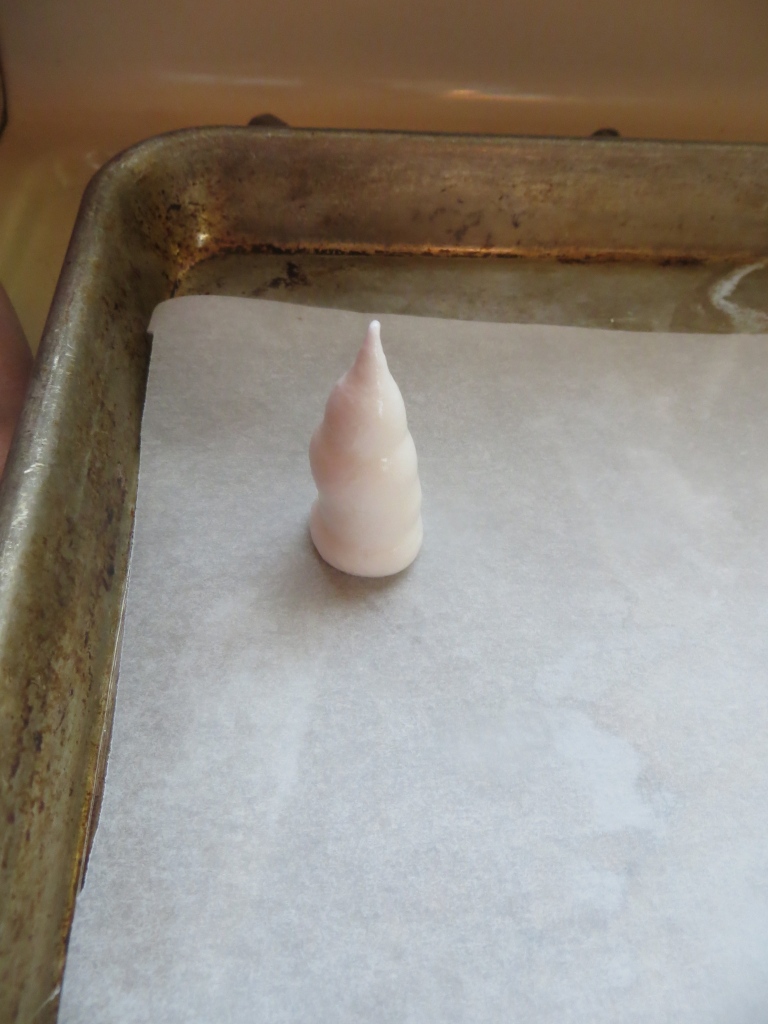
Tada! Make sure you keep the point on the stems… they will be needed when we assemble the mushrooms.
Since these are mushrooms that grow in the ground, they need a little dirt on them!
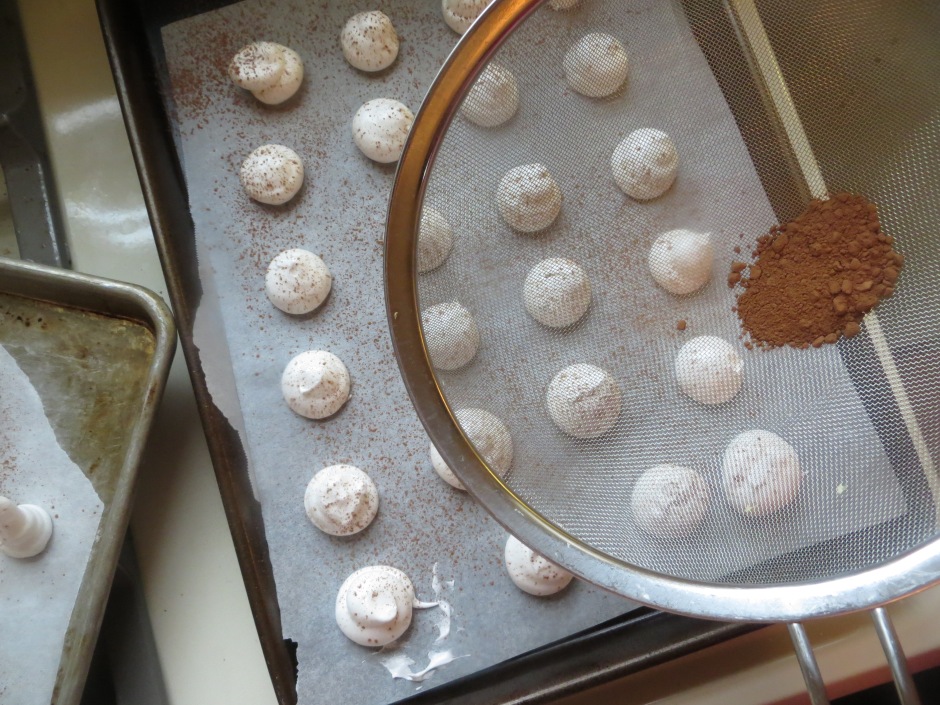
Some cocoa powder sprinkled over the tops add a whimsical touch!
The meringues are baked at 250 degrees for about 45 minutes. Since I made them ahead of time, I popped them into a Tupperware container in a cool, dry place until I assemble them tomorrow!
I can’t wait to see how it all turns out.
So kiddos, what are you up to? Are you making a big fancy dish for your family and friends to enjoy? I would love to hear all about it!
Your meringue-makin’ friend,
C

